Home & Garden
Four Measurements Decide Which Cabinet Handles Will Fit

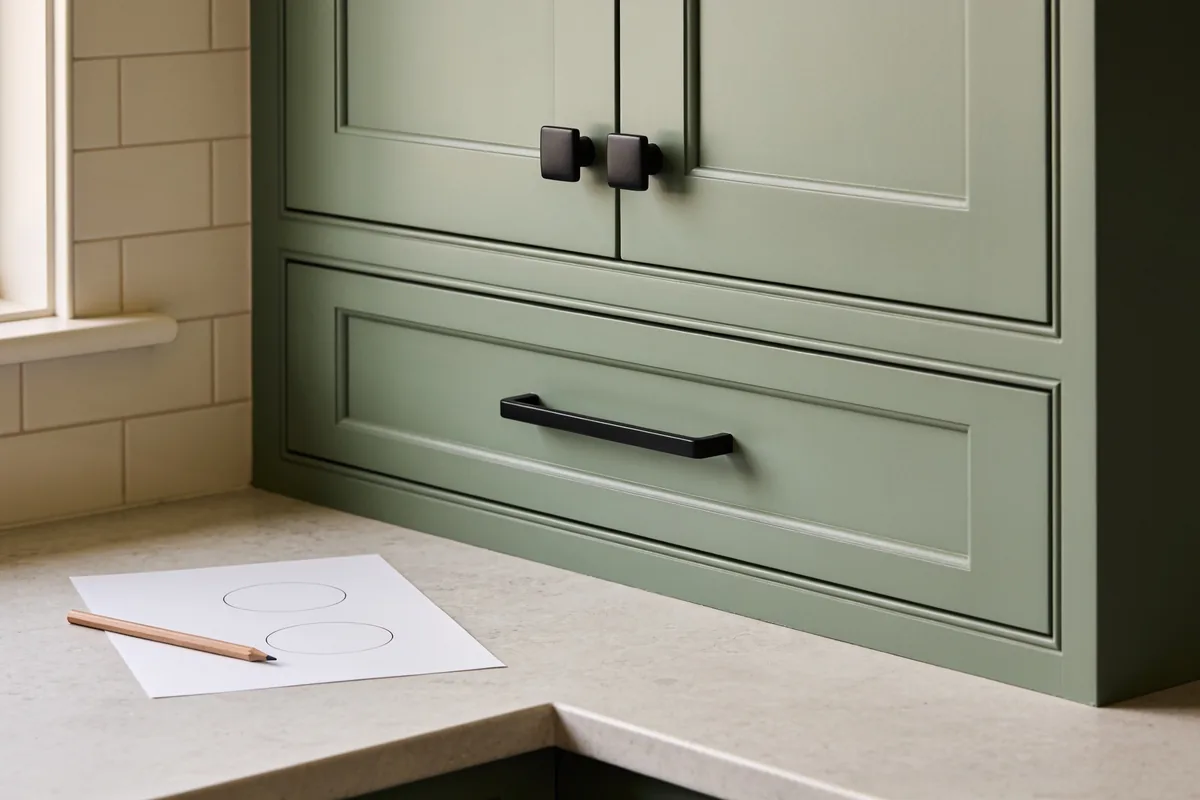
Do this first: measure the cabinet handles you already have. Grab a tape measure or ruler, a pencil and a sheet of paper. It takes about 15 minutes for a whole kitchen.
- Measure the centre-to-centre distance on one handle: from the middle of one screw hole to the middle of the other. Two minutes.
- Measure how far the handle sits out from the door, which is the projection. Two minutes.
- Measure the door or drawer thickness at the edge. One minute.
- Write down how many handles are single-hole knobs and how many are two-hole pulls. Three minutes.
- Open one door and note which hinge type it has, and how far the door sits over the cabinet edge. Three minutes.
- Count every handle and hinge on the job, by room. Four minutes.
Keep the page. It saves the most common mistake in a hardware upgrade, which is buying handles that look right and don’t fit the holes.
Why measure first
A handle that fits the existing holes is a ten-minute swap. A handle that doesn’t is a drilling job, and it leaves old holes to fill and repair. Most disappointment with new hardware comes from a mismatch in one of the measurements below, not from the style.
The four measurements
1. Centre-to-centre. This is the distance between the two screw holes on a pull handle. It’s the measurement that decides whether the new handle will bolt straight on. If your holes are, say, 128 mm apart (a hypothetical example), the new handle needs the same spacing. Measure from the centre of one hole to the centre of the other, not edge to edge, and check a few cabinets in case they differ.
If you want a different size, you have options. A longer or shorter handle on a backplate can cover old holes. You can fill the old holes with timber filler, sand and repaint the door, then drill new ones. Neither is difficult, but both add a job, so decide before you buy.
2. Projection. This is how far the handle sticks out from the door. Too short and you’ll scrape your knuckles on the door or drawer as you grip. Too long and it catches on clothing or the edge of a bench in a narrow galley kitchen. Compare with your current handles: if they work well, match their projection.
3. Screw length and door thickness. The screw has to be long enough to pass through the door or drawer front and bite into the handle, but not so long that it pokes out of the other side. Measure the door thickness and check what the handle’s supplier lists. Many handles ship with screws of a standard length, and a thicker drawer front may need longer ones. Machine screws can be trimmed with a hacksaw if they’re too long, so it’s usually safer to order slightly long than short.
4. Hinge overlay, if you’re changing hinges. Handles are the easy swap. Hinges need more care. Overlay is how much of the cabinet edge the closed door covers. Full overlay doors cover the cabinet edge, half overlay doors share an edge with the neighbouring door, and inset doors sit inside the frame. A replacement hinge has to match the overlay type and the way it fixes to the door, usually a round cup set into the back. If you are not sure, take a hinge to a hardware store, or photograph it with a ruler beside it and ask.
Choosing the style once the sizes work
Sizes decide what fits. Then style is your choice.
- Finish. Match or deliberately contrast with your taps, appliances and lighting. Mixing too many finishes in one room tends to look cluttered, so two is a sensible limit.
- Material. Solid metal handles are heavier and tend to wear better than light, hollow ones. Check how a finish is protected, since the surface on the handle you touch every day gets the most wear.
- Shape and grip. Pull handles are easier for people with limited grip strength than small knobs. If anyone in the house has arthritis or reduced hand strength, try the handle in your hand before you commit to a whole kitchen of them.
- Consistency. Using one style on doors and a matching style on drawers makes a room look intentional.
Soft-close, and when to leave it alone
Soft-close hinges and drawer runners make a kitchen quieter. If you’re replacing hinges already, you may be able to choose soft-close versions of the same type. Add-on dampers also exist for some existing hinges. A word of caution: runners and hinges vary a lot in size and fixing, so measure and photograph what you have before ordering anything. If your doors and drawers close fine and the only complaint is looks, handles alone will do most of the work.
A realistic order of work
- Measure and photograph everything.
- Decide whether you’ll keep your existing hole spacing.
- Order one sample handle, not forty, and test it on a door.
- Check grip, clearance and finish in your own light.
- Order the full set, plus a few spare screws.
- Replace doors first, then drawers.
- Fill and repaint any old holes you’ve decided not to use.
While you’re at cupboard level, a dripping tap is the other small fix worth ticking off, and this quick faucet repair guide is a good companion job.
Before you order
Next job: measure one handle and one hinge in the room you use most, and save a photo of both with a ruler next to them. That one page of measurements is the thing every supplier and every hardware shop will want from you, and it’s the one thing you can’t do without.
Sources: No third-party figures are used in this article. The 128 mm example is hypothetical. For hinge and runner fitting, follow the instructions supplied by the manufacturer of the product you buy.