
Tech
Retro Gear Deserves a Power Button Instead of a Shelf

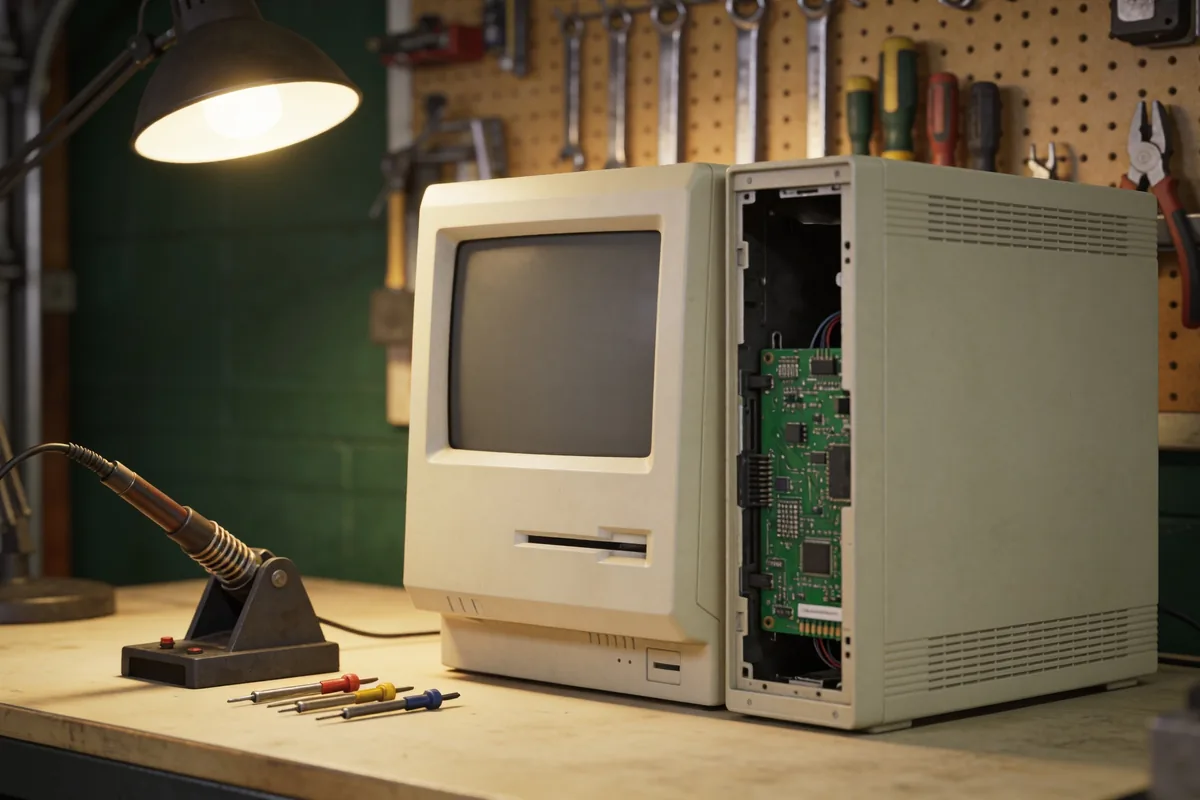
Restore it, don’t just hoard it. A Commodore on a shelf is nostalgia with dust on it. A Commodore that boots is a machine you can learn from, and the repair is where most of the fun lives.
That’s the position here, and it comes with a condition. Not every old device is a good first project, and a few are genuinely unsafe to open. The rest of this is how to choose well and what the process looks like.
What restoration involves
Vintage tech restoration means finding, repairing and preserving devices from roughly the 1980s to the early 2000s: computers, consoles, phones, portable players, cameras. The aim is a working device. That means cleaning it, replacing parts that have aged out, and sometimes adding a modern connection so it works with the gear you own now.
It’s an odd hobby because the skills are old and the audience is new. Australia has collectors, swap meets, makerspaces and online forums where people trade parts and fixes, and the Australian Computer Museum Society is one of the places where the history is kept. The community is the reason a beginner can get started with very little.
Three questions before you buy anything
Most bad restoration projects were bad purchases. Ask these first.
- Can I see what’s wrong? A device that powers on and misbehaves is a much better start than one that is dead and corroded. Look for rust, leaked battery residue and swollen or leaking capacitors before you pay.
- Can I get the parts? Common consoles and popular computers have plenty of replacement parts, and many enthusiasts now 3D-print the plastic bits that were never made again. Obscure machines may need parts that simply no longer exist.
- Is it safe to open? This is the question people skip.
The safety line
Some old gear stores a dangerous charge long after it’s unplugged. Cathode ray tube (CRT) televisions and monitors are the obvious case, and many old power supplies and mains-powered audio equipment carry the same risk. If you aren’t trained to discharge and handle them, don’t open them. Treat the CRT as something to use, not something to dismantle.
Consoles, handhelds, portable players and cameras that run on low voltage are far gentler first projects. They’re also where most of the satisfying repairs happen.
Which gear is worth the effort
| Type of device | Typical fault | Difficulty for a beginner | Main risk |
|---|---|---|---|
| Classic consoles (SNES, Mega Drive, PlayStation 1 era) | Aged capacitors, dirty cartridge contacts | Low to medium | Low, mainly static and soldering burns |
| Retro computers (Commodore 64, Apple IIe, early laptops) | Failed capacitors, corroded boards, leaked batteries | Medium to high | Battery leakage can eat a circuit board if left too long |
| Early mobile phones (Nokia 3310, Motorola Razr) | Tired batteries, worn buttons | Low | Low, though replacement batteries vary in quality |
| Portable players (Walkman, iPod Classic) | Perished belts, worn headphone jacks, dead batteries | Low to medium | Low |
| Film and early digital cameras (Canon AE-1, early Coolpix) | Sticky shutters, perished light seals, dead batteries | Medium | Low, but small parts are easy to lose |
| CRT televisions and monitors | Fading tubes, failing power supplies | High | High, avoid opening them |
The table is a general pattern from the hobby, not a ranking of particular models, and a specific device can differ.
The process, step by step
- Source it. Garage sales, recycling centres, swap meets and online listings are the usual places. Inspect before you pay where you can.
- Assess and open it. Check for corrosion, dust, missing parts and leaking components. Take photos as you go, because you’ll forget where the screws belong.
- Clean and test. Isopropyl alcohol, compressed air and a soft brush deal with most grime. Test the parts you can reach before you replace them.
- Repair or replace. Use authentic parts where you can find them and sound modern equivalents where you can’t.
- Upgrade if you want to. Some people add an HDMI output, a USB port or an SD card slot so the machine is usable day to day. It’s a choice, and not everyone agrees on it.
- Write it down. Notes and photos of what you did save the next person, and often your future self.
Keep it off your main network
Old software stopped getting security updates years ago, so a restored machine that talks to the internet is a weak point. If you want to use one online, put it on a separate network or keep it offline. The reasons are the same ones behind what you should do after a data breach notice: reused passwords and unpatched systems are how small problems become large ones.
There’s a pleasant flip side. A restored console that never touches the internet collects nothing about you, which is more than you can say for much of today's AI-driven gadgetry.
The fair objection
Purists would say that replacing original parts, modding in HDMI or recapping a board erases the thing that made it a historical object. That’s a respectable view, and for rare or historically important machines it deserves weight. If you’ve got something genuinely scarce, an untouched example may be worth more as a record than as a working unit.
For most people with an ordinary console from a garage sale, though, the argument for keeping it frozen is thin. A working machine teaches more, gets looked after more, and keeps a bit of perfectly good hardware out of the e-waste stream. Whether it also holds or gains value is a bonus, and not a reason to buy, since resale prices swing with fashion.
Your first restoration
Pick something with low voltage, common parts and a fault you can see. A console with a dirty cartridge slot is a good candidate. Clean it, test it, and note what you did. When it boots, you’ll understand why people keep doing this.
Sources: Australian Computer Museum Society, about vintage computing history in Australia (https://acms.org.au/)


You must be logged in to post a comment Login