Home & Garden
Fix a Leaky Kitchen Tap by Matching the Repair to the Tap Type

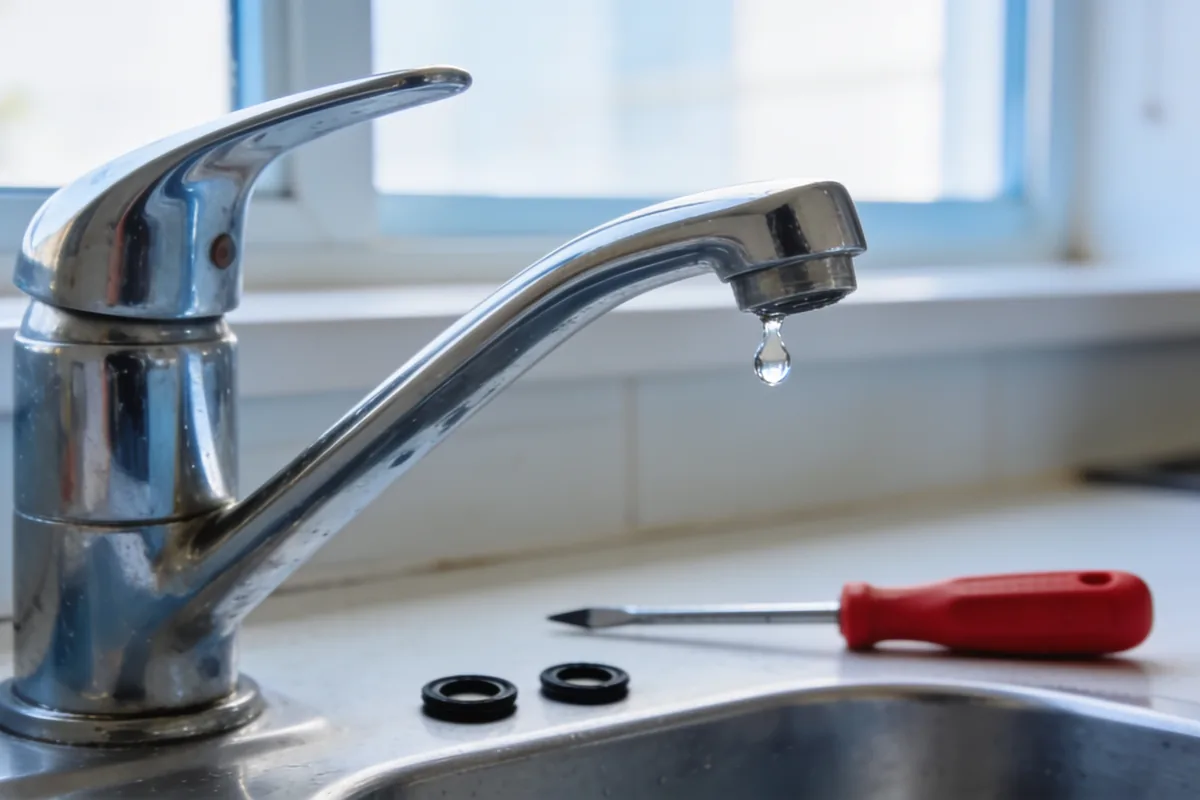
Job for today: fix the leaky tap. Allow about 45 minutes the first time.
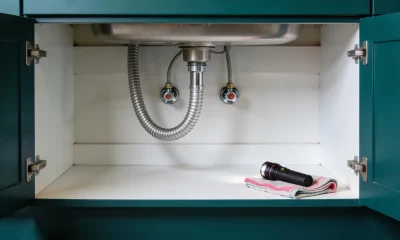
- Find the isolation valve under the sink and turn it off. If there isn’t one, turn off the main supply. About two minutes.
- Open the tap fully to drain what’s left in the line. About one minute.
- Put the plug in the sink, or a cloth over the drain, so a dropped screw doesn’t disappear. About one minute.
- Take the handle off. Prise off the decorative cap, then undo the screw underneath. Mixer taps often need a small Allen key. About five minutes.
- Work out which type of tap you have, using the test below. About five minutes.
- Remove the worn part, take it to a hardware store and match it by eye. A like-for-like washer, O-ring or cartridge is the right part. About 15 minutes including the trip.
- Refit the new part, put the handle back on, turn the water on slowly and watch the tap for five minutes. About 10 minutes.
If it still drips after step 7, don’t force anything. Go to “When to stop” below.
Which type of tap do you have?
This is the step that saves you buying the wrong part.
- Washer tap. Usually two separate handles, one hot and one cold, that you turn several times. The leak is almost always a worn washer or O-ring.
- Cartridge tap. Often a single lever mixer. Inside the body is a cartridge, and a leak around the spout or base usually means the cartridge or its seals have worn.
- Ceramic disc tap. Handles turn a quarter or half turn. Leaks here tend to come from mineral build-up or damaged discs, and cleaning sometimes fixes it without a new part.
Match the repair to the type: replace the washer or O-ring on a washer tap, replace the cartridge on a cartridge tap, and clean or replace the disc on a ceramic disc tap.
What you’ll need
- Adjustable spanner
- Screwdriver set and a small Allen key set
- Replacement washer, O-ring or cartridge, matched to the old part
- Cloth for wiping and for the drain
- White vinegar for mineral build-up
- Plumber’s tape, only if you disturb a threaded joint
Why the tap leaks
Taps wear because the parts that stop the water are rubbing against each other every time you use them. The usual causes are:
- a worn washer or O-ring
- mineral build-up from hard water
- a worn or damaged valve seat
- corroded internal parts
- a failing cartridge in a mixer
If there’s grime or scale on the parts when you take them out, clean it with vinegar before refitting. Work gently, because scraping can mark the surfaces that need to seal.
A note on plumber’s tape
Plumber’s tape (PTFE tape) belongs on threaded joints, such as a screw-in spout or a threaded connector, so the joint seals. It doesn’t go on washers or inside a cartridge. If you haven’t undone a threaded joint, you don’t need the tape.
When to stop and call a licensed plumber
A drip from an ordinary tap is a good job for a householder, but some situations are for a licensed plumber.
- The tap leaks again after you’ve replaced the part.
- The tap or its fittings are heavily corroded.
- Water pressure is uneven across the house.
- You can see or suspect damage to the pipework behind or under the sink.
- The job moves from replacing a worn part to altering pipes, fixing a leak behind a wall or fitting a new tap in a new position.
Plumbing rules in Australia are set by each state and territory, and what a householder may do without a licence differs between them. Replacing a worn washer or cartridge in an existing tap is commonly treated as simple maintenance, but check your state or territory plumbing regulator before you go further. The Plumbing Code of Australia sets the technical requirements that plumbing work has to meet, and state and territory law decides who may carry that work out.
If you are not sure, stop and ask. A wrong guess behind a wall costs far more than an hour of a plumber’s time.
Why it’s worth fixing
A steady drip wastes water around the clock and adds to your bill. Over time it can also leave stains and swelling on cabinets and benchtops and encourage mould in the cupboard below. Fixing it early is cheaper than repairing that damage later.
Small habits cut the chance of a repeat: clean mineral build-up from taps and aerators from time to time, don’t wrench taps off harder than they need, and replace parts that are starting to fail rather than waiting for a drip. If you want to go further, our guide to simple steps to maintain a reliable home plumbing system covers regular checks, and if the sink has started draining slowly as well, there are quick fixes for kitchen sink clogs worth trying before anything else.
Next job
Check the other taps in the house and the toilet cistern for drips. A tissue held under a tap’s spout will show a slow leak. Write the date and the part you replaced on a note inside the cupboard so the next repair starts with the right information.
Sources: Australian Building Codes Board, Plumbing Code of Australia (https://ncc.abcb.gov.au/editions/ncc-2025/adopted/volume-three)